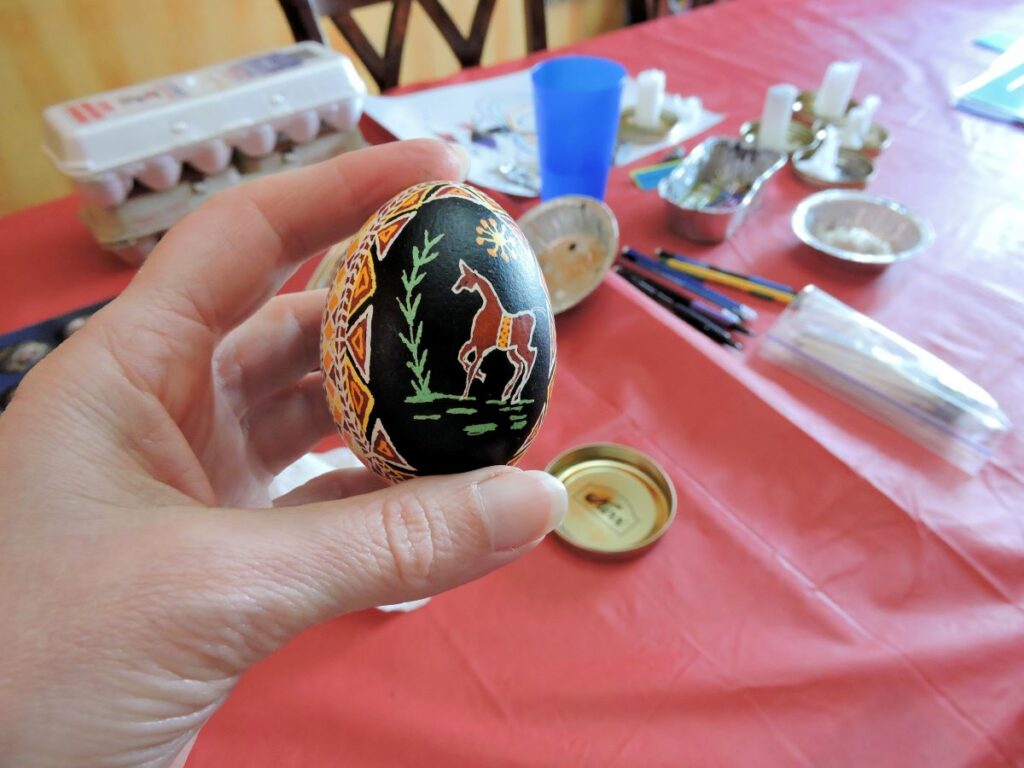
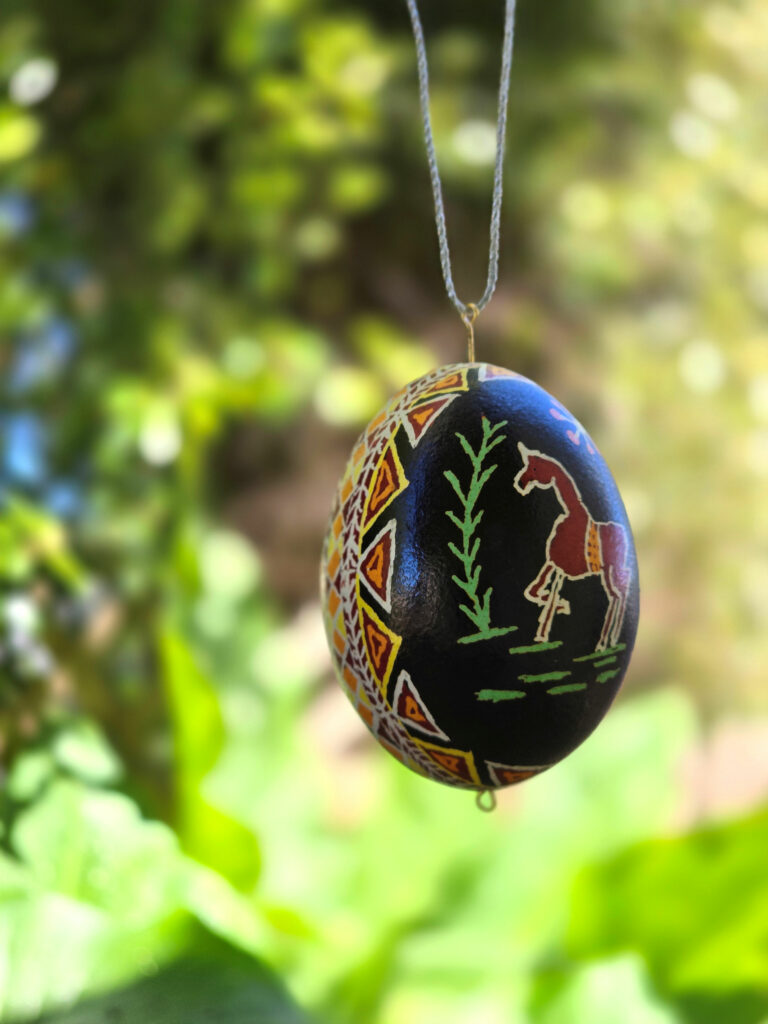
A little about Ukrainian Eggs and Pysanky in Particular
There are many stories and beliefs surrounding Pysanky and the traditional Ukrainian art of decorating eggs. Some stories are very old and pre-date Christianity others are more recent. Most of the stories, like the decorated eggs themselves, vary by region.
My favorite has to do with the personification of evil in the form of a monster kept chained to a mountain. Every year the number of decorated eggs are cosmically counted, if many decorated eggs are created the chains holding evil back are tightened, if too few are created the monster’s chains are loosened. Symbolically every time you decorate an egg you bring more beauty into the world and because traditionally these eggs were meant to be given as gifts, the more beautiful eggs created the more gifted blessings are spread.
It is believed that as long as eggs are decorated the monster will stay chained to the mountain and goodness will prevail over evil throughout the world.
Before continuing, I would like to thank a dear family friend for introducing me to Ukrainian Eggs and for teaching me how to create these beautiful little treasures.
There are several regional variations when it comes to Ukrainian Egg decorating all with different styles and names. Those called Pysanky are created with melted beeswax and layered dyes.
Making Ukrainian Eggs
Before starting you will need to gather the necessary materials and prepare the dyes.
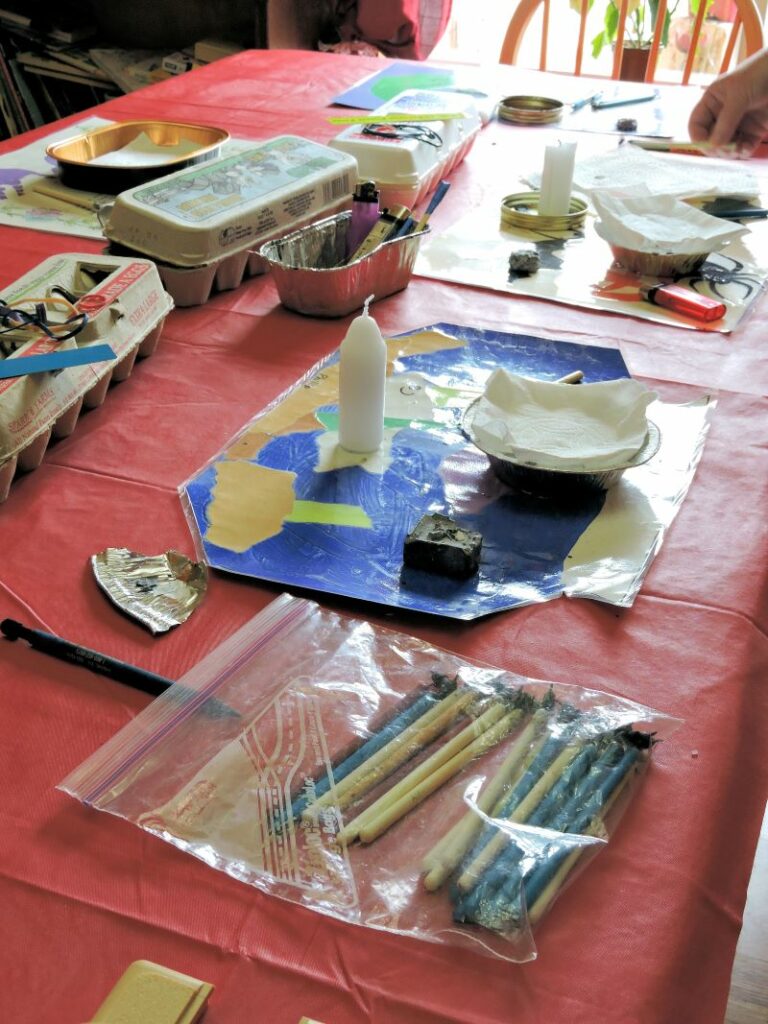
Materials:
- Eggs: Ukrainian eggs or Pysanky can be made with blown eggs or raw eggs (over time the raw insides will naturally dry out).
- Pencil
- Kistka
- Beeswax
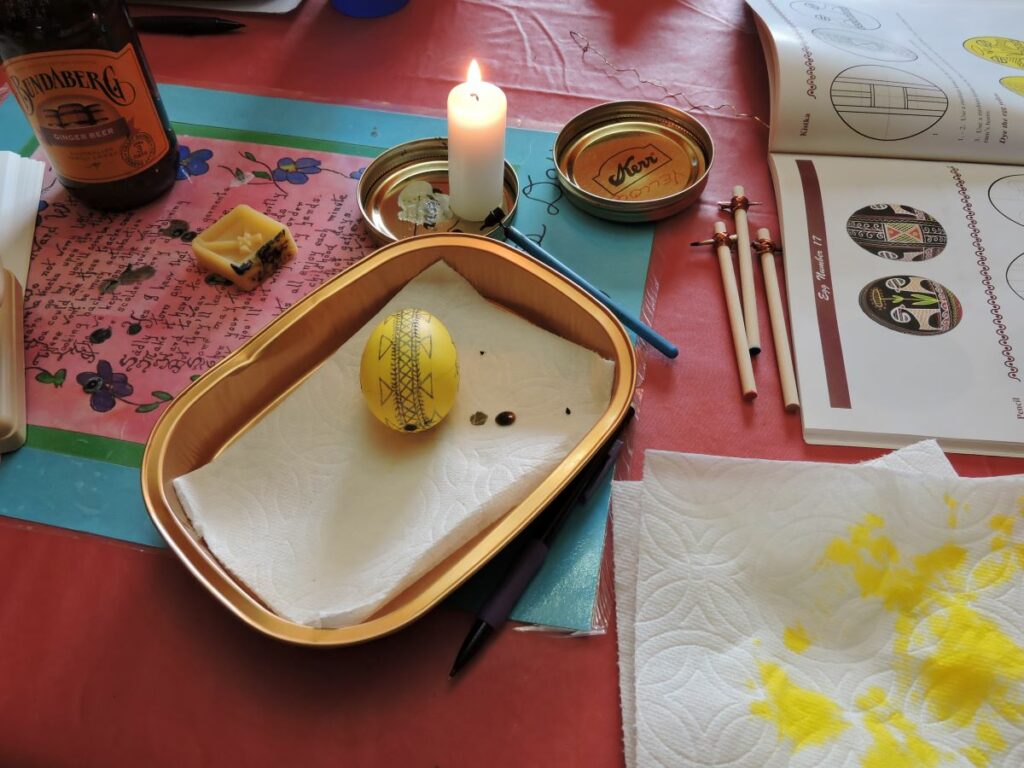
- Candle and candle holder
- Dyes (which will need wide mouthed jars and white vinegar)
- Weight (to keep blown eggs submerged in the dye)
- Spoons
- Paper towels or soft rags
- Rubber bands
Optional:
- Thin piece of wire (to de-clog Kistka if needed)
- Paintbrush
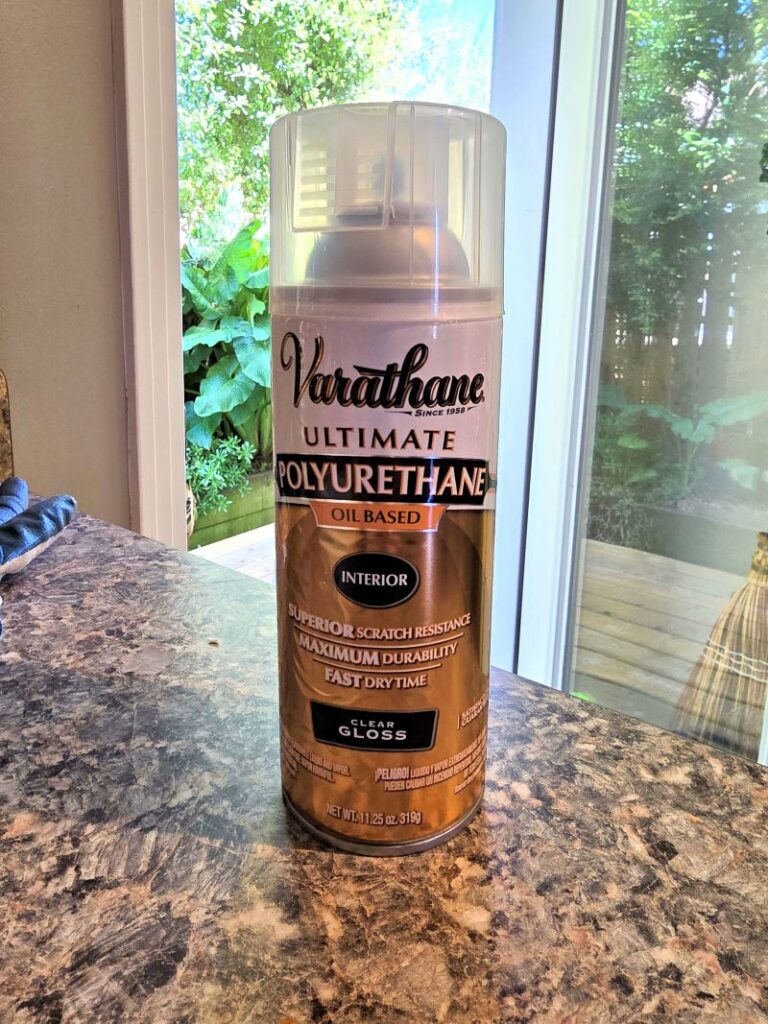
- Varnish
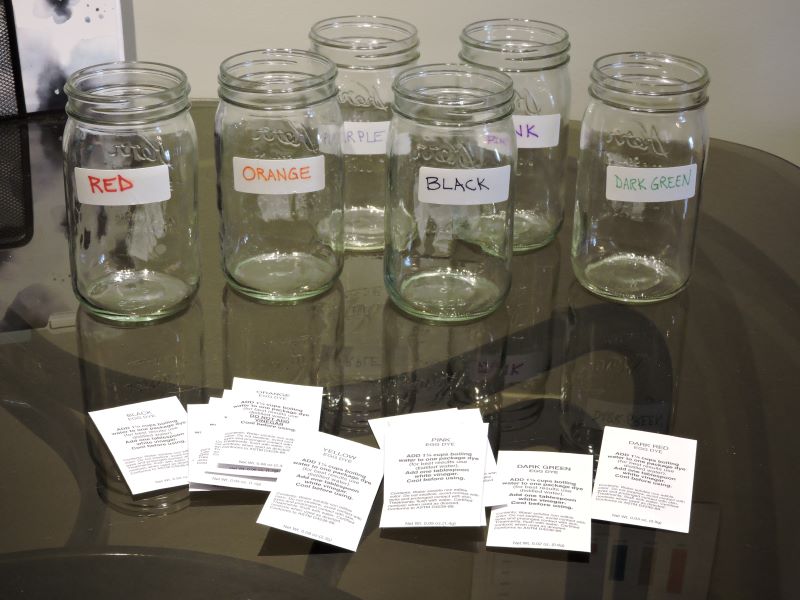
Prepare the Dyes:
- Follow the directions on the dye packets.
- This will involve adding boiling water and the contents of the dye packets into jars.
- Keep in mind, You’ll need jars with a wide enough mouth to fit eggs in and out. Mason jars are perfect.
- Next white vinegar will be added to each dye except orange. The orange dye will be used as a wash, which will be explained in a later step. Vinegar is Not added to the orange dye.
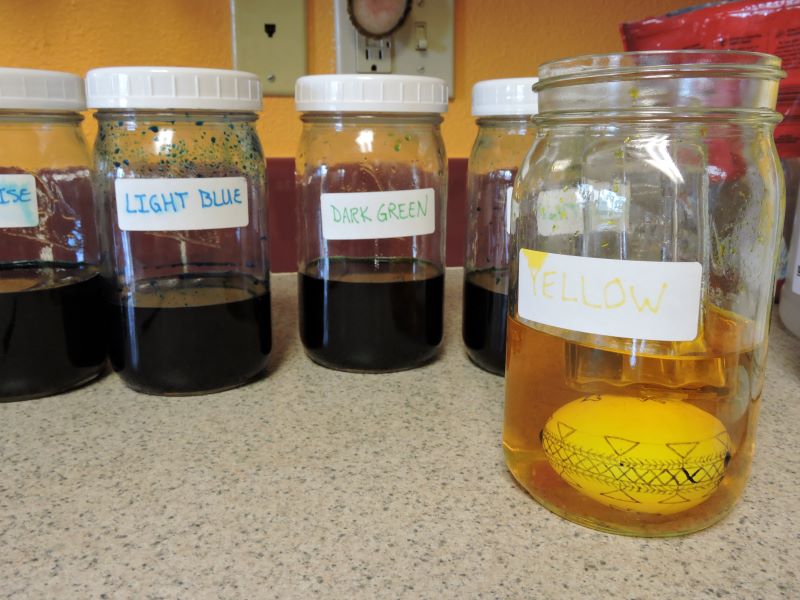
- Label the jars with the name of each color. The dyes are concentrated and it can be difficult to differentiate between them.

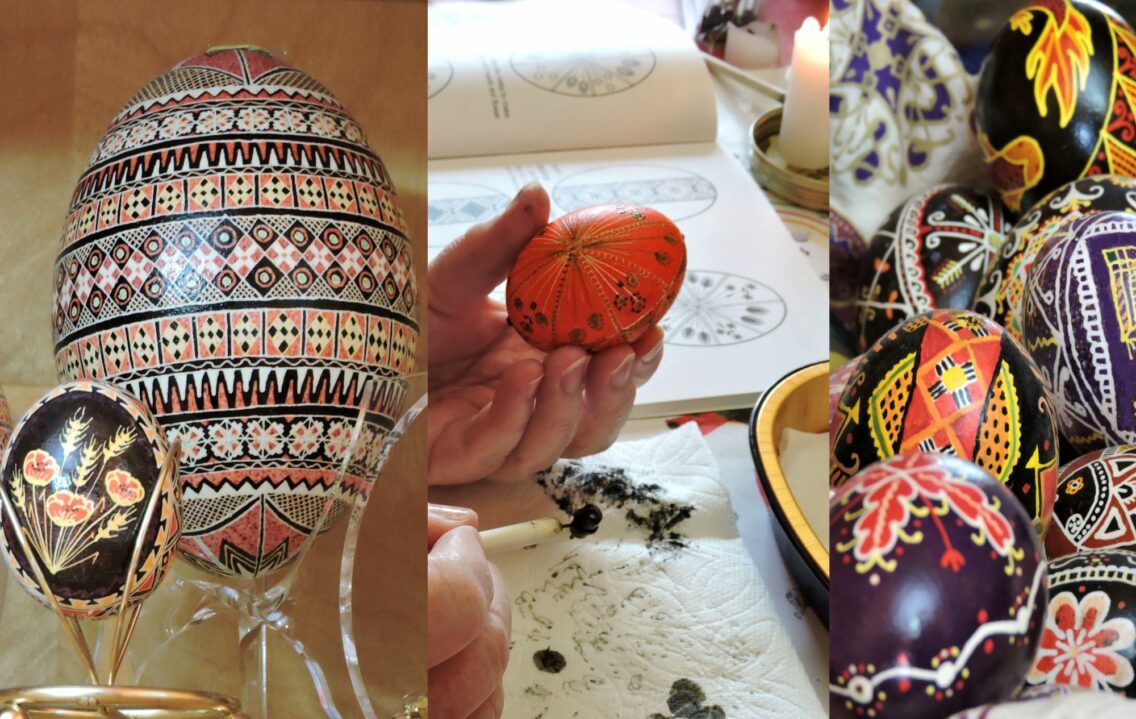
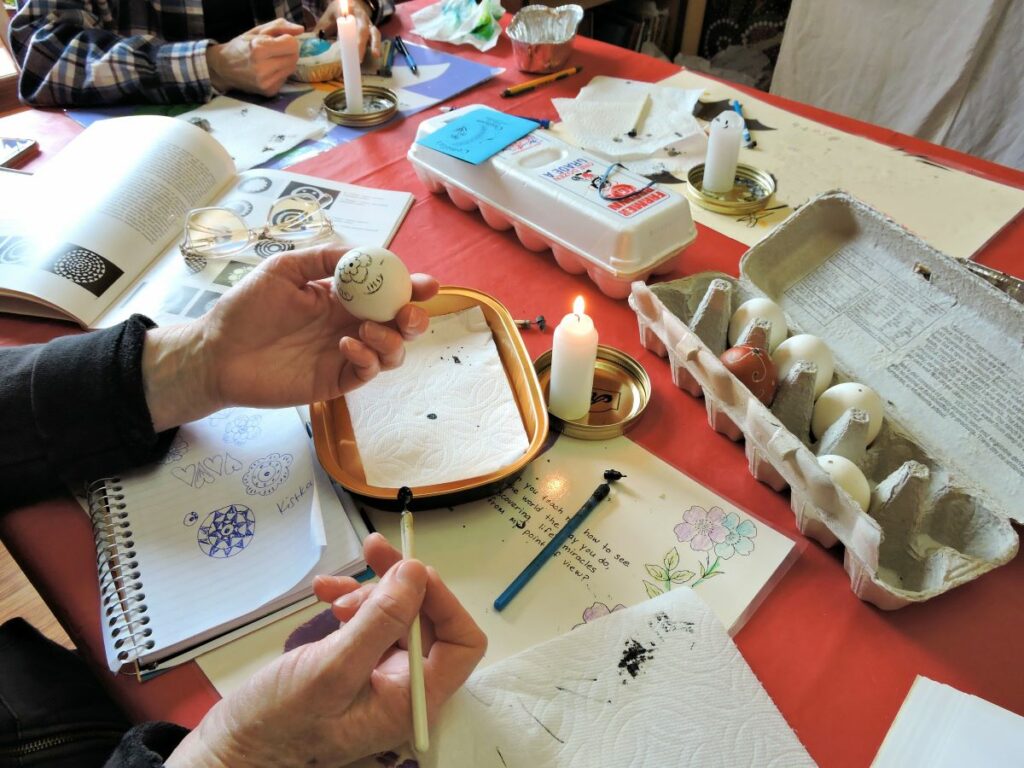
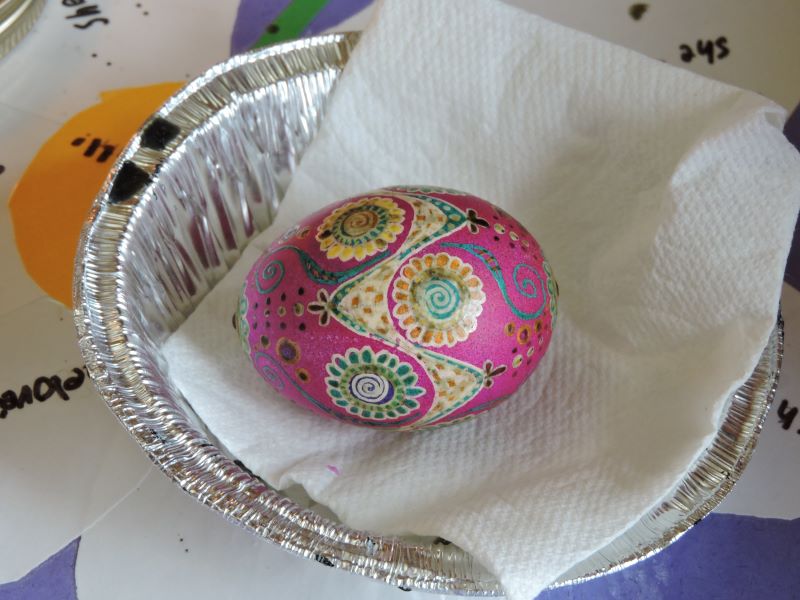
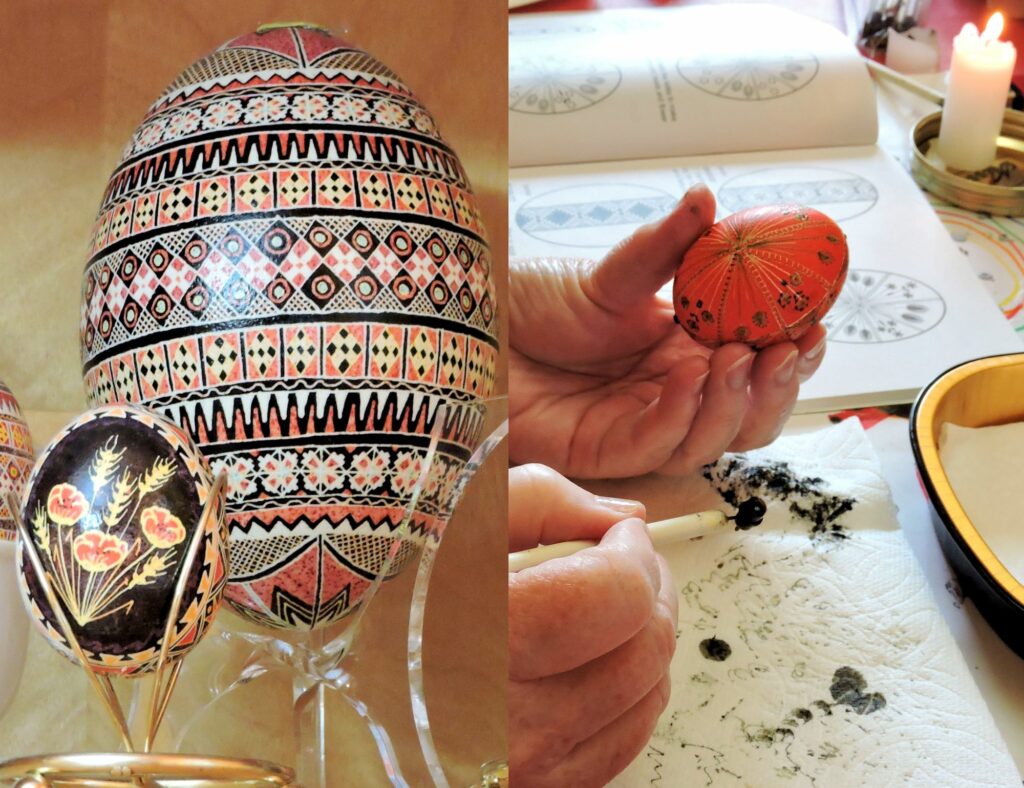
Step One: Decide On Your Design.
Once everything is ready one must decide on a design. There are books full of traditional design patterns or you can create your own.
Step Two: Draw guidelines and any necessary design components
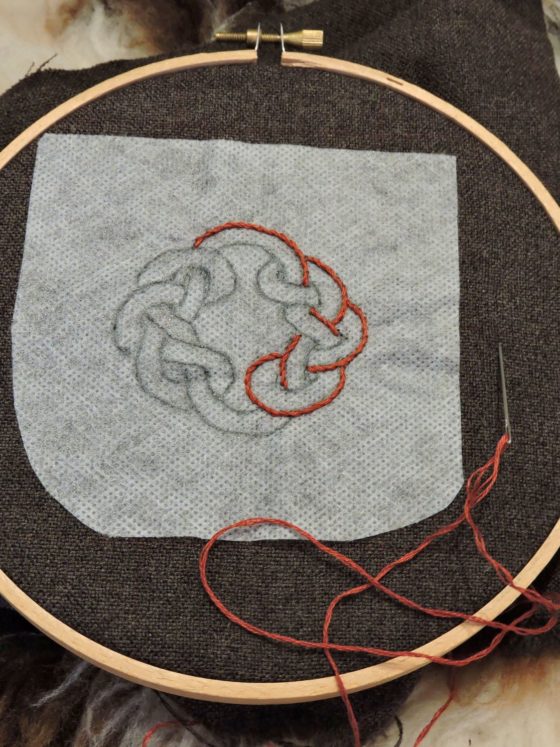
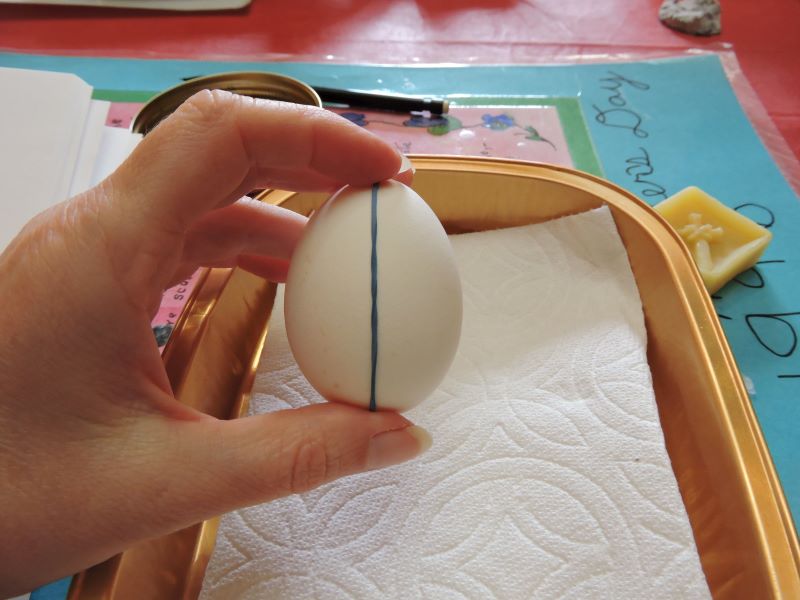
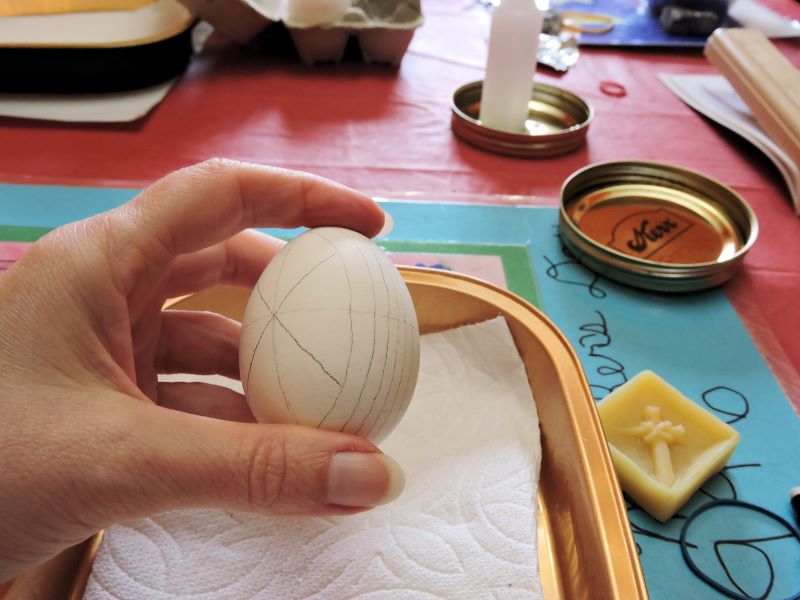
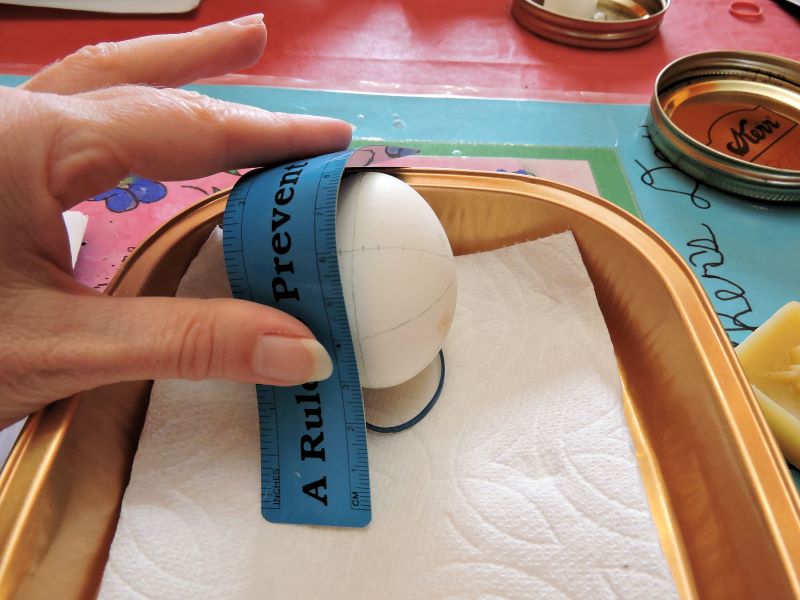
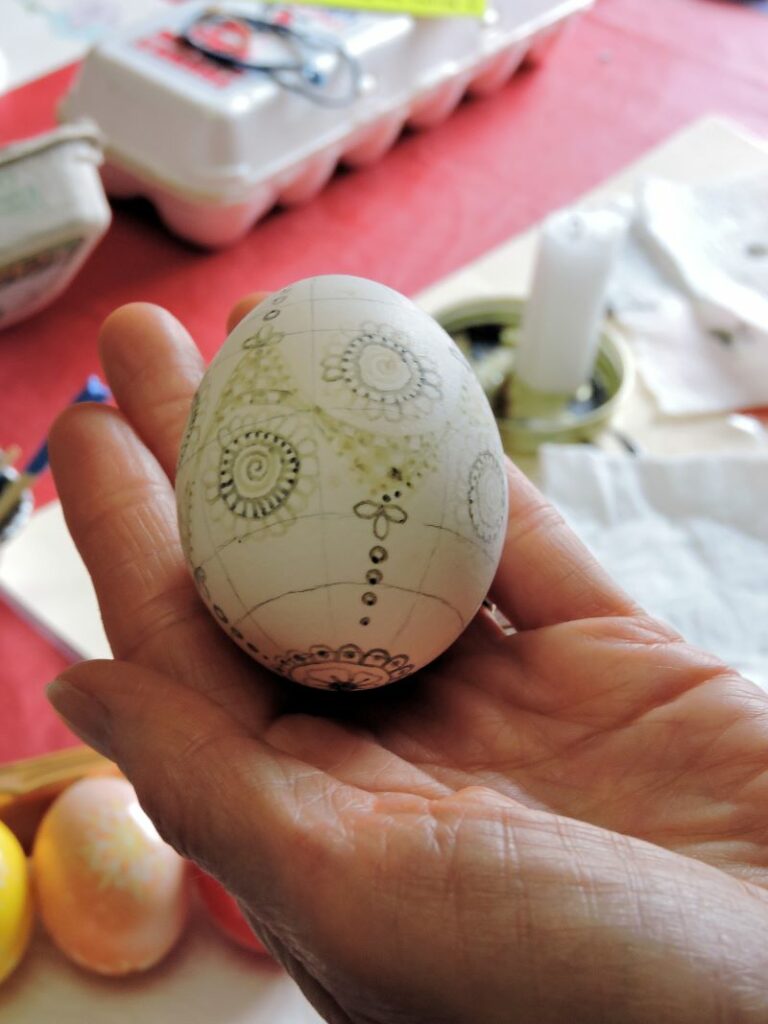
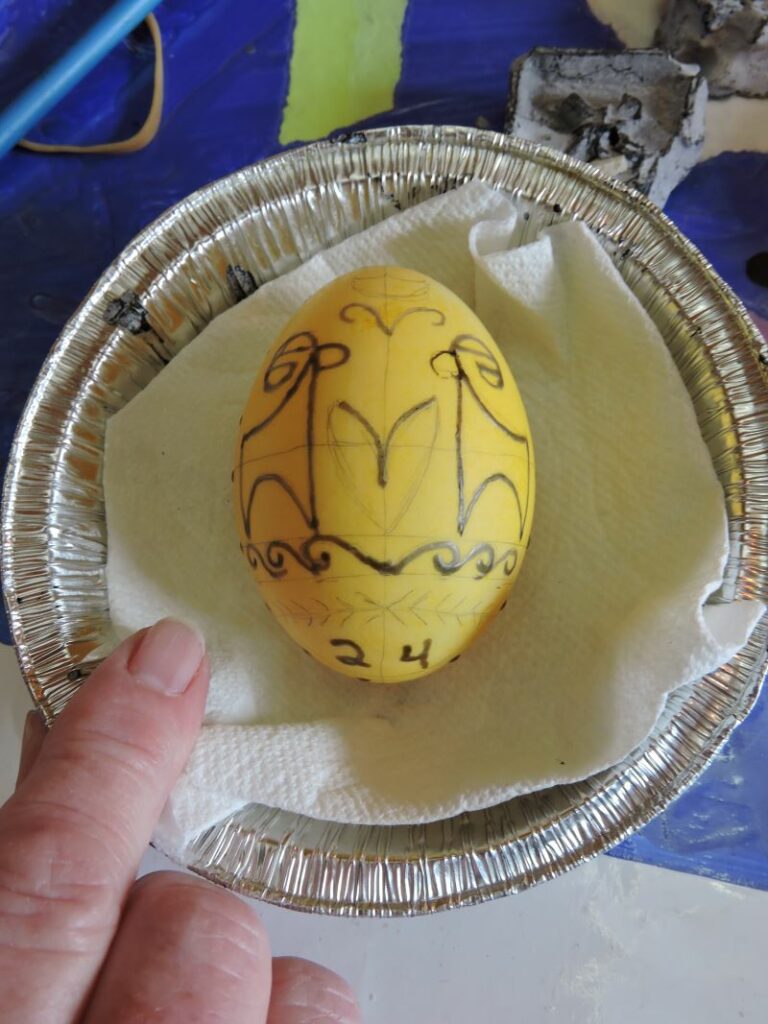
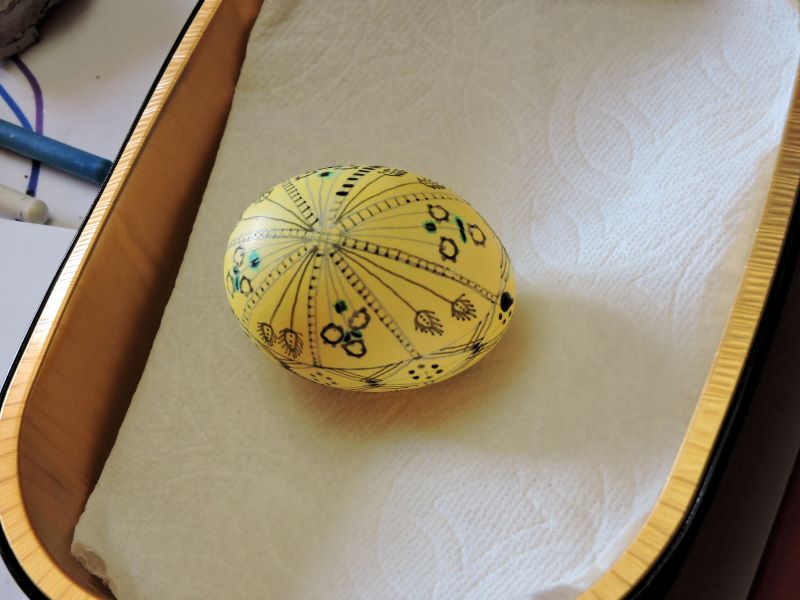
Once you have an idea how you want your egg to look, use a pencil to lightly draw any guidelines your pattern calls for or any guidelines you may need to help keep your own pattern even. The sectioned guidelines are important and helpful because the egg is a sphere and it is difficult to keep the placement of a design even without them.
To do this use a pencil and divide the egg into sections by lightly drawing spaced guidelines on the egg as shown below. There are special tools to help with this, or you can use a simple rubber band, which I prefer and found was easiest. ( Tip: use a rubber band that is not too loose, you want it tight but not tight enough to damage the egg.)
The guidelines will allow you to freehand most of the kistka wax work without having to draw everything in pencil first. However, if you’re more comfortable sketching in pencil first, as long as you draw lightly, the lines won’t be visible when you’re done.
Bear in mind throughout these instructions that every egg is different and different patterns as well as one’s experience and comfort level will require some variation in the steps followed
Step Three: Seal Blown Eggs
(I want to briefly point out there will usually be three different size Kistkas in a set, one for thin lines, one for medium and one for wider lines. But I don’t want these directions to get too complicated, so I’m not going to mention the different sizes again. I personally found I liked just using the medium Kistka myself.)
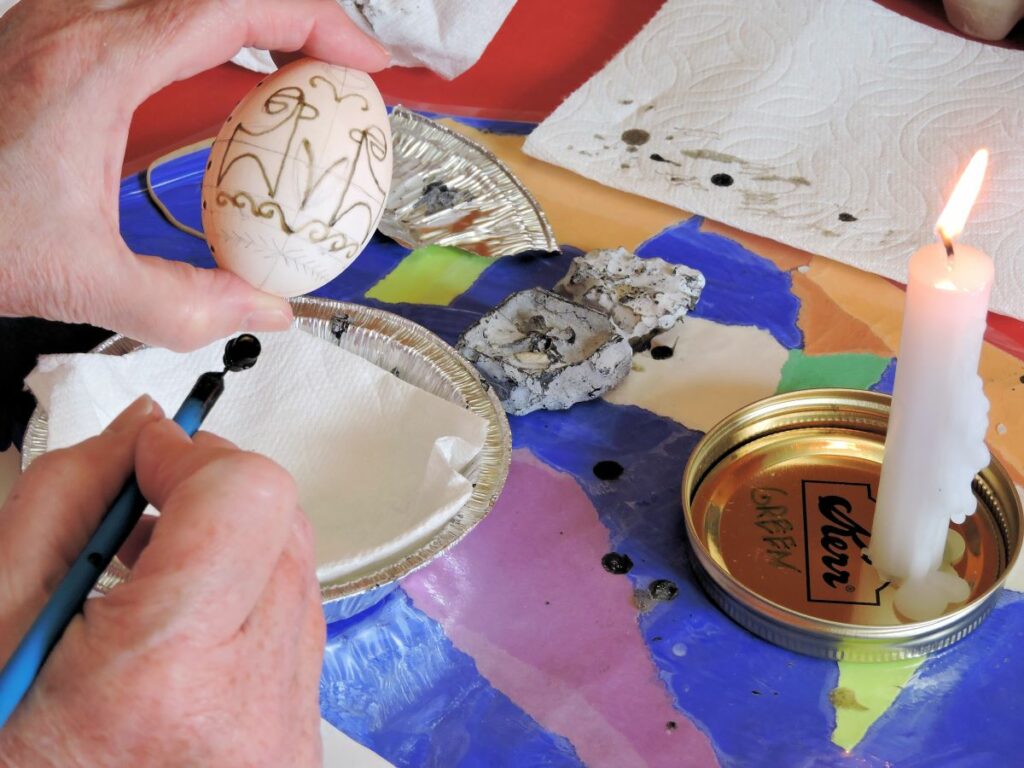
Procedure: Heat the metal cup on the end of the Kistka by holding it next to the candle flame. Once it is hot, scoop a little beeswax into the funnel cup. Heat it in the candle flame once more to ensure the wax is melted.

If you are using blown eggs you will need to seal the ends with wax at this stage. If the holes seem too big and you’re having trouble, do a little at a time. Using your kistka, apply some wax in a circle along the edge of the hole, let it cool, then add more wax, and let it cool, continue until the hole is sealed. If two holes were used make sure both are fully covered and sealed before ever placing the egg in dye.
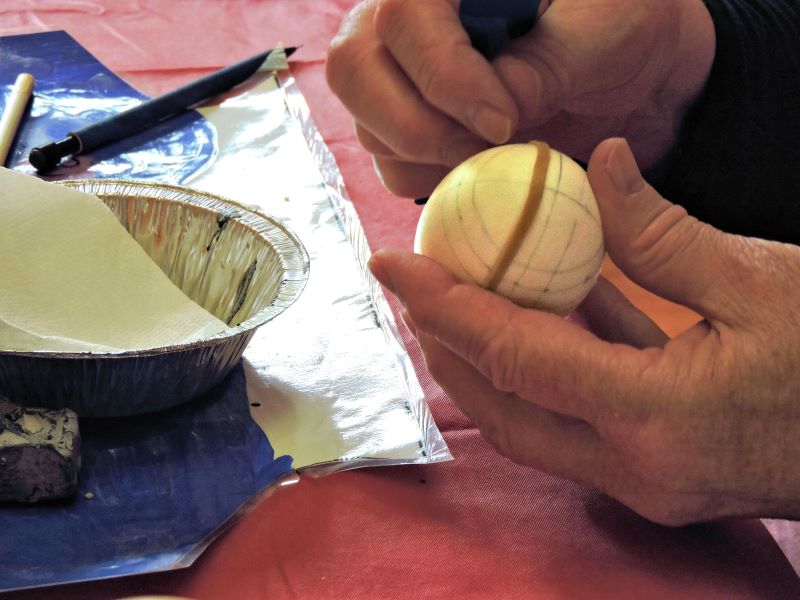
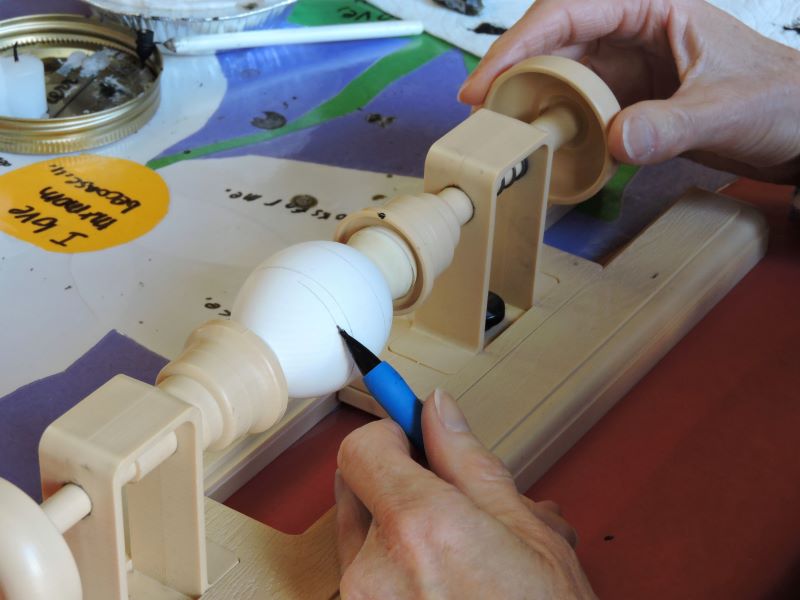
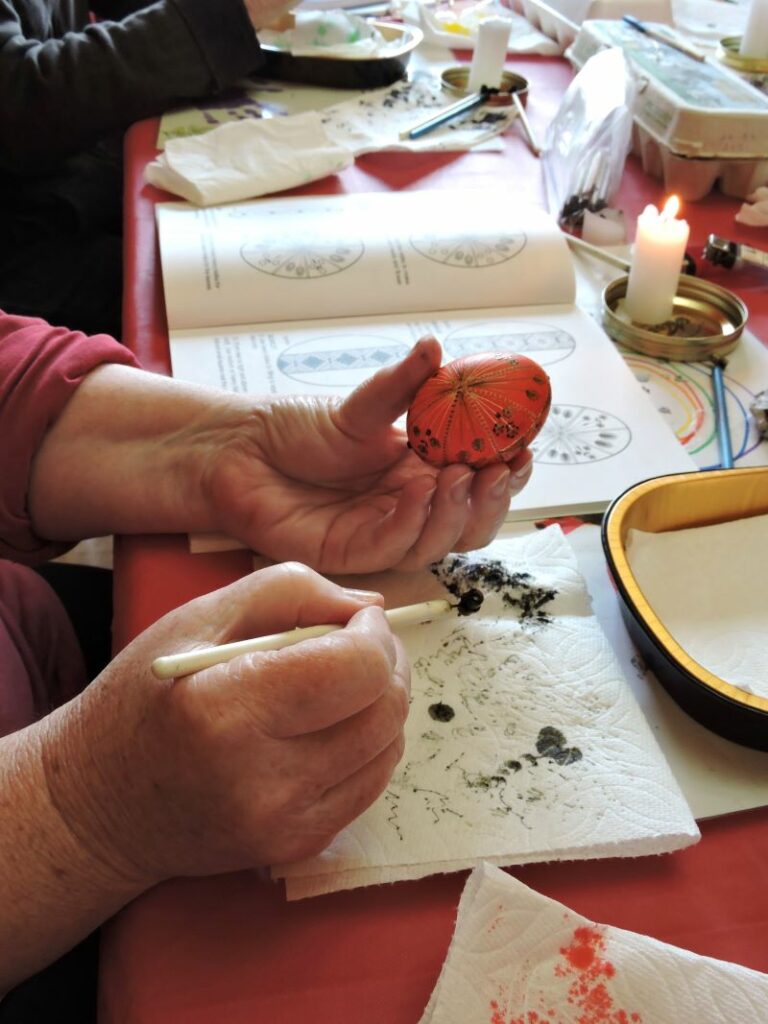
Step Four: Use the Kistka to Draw Your First Wax Lines
Once your egg is sealed or if you’re using a raw egg you’re ready to draw your first wax lines. It might take some practice to get a feel for this. You want the wax to flow as evenly and as smoothly as possible. Some things to keep in mind: If the wax is not flowing enough the Kistka may be clogged. Poking a very thin wire through the opening will unclog it. It could also be the funnel is running low on wax and you need to scoop more into the cup. One last possibility is you may not have heated it enough to fully melt the wax. However be aware if you have too much wax and overheat it, then it can blot out when you first touch it to your egg. It’s a good idea whenever you heat a new scoop of wax to gently touch or tap it on a paper towel first to prevent blobs of wax from blotting on the egg.
A quick note about the color of the wax. When drawing your wax lines the wax may vary from very light and almost see through to dark black. The candles used to heat the Kistka create soot, but have little effect on the outcome other than your ease of seeing them, dark lines being easier to see.

Now the big question, What lines do you draw first? Draw lines anywhere you want the egg to remain white. Because the egg starts off white, anywhere you draw wax lines at this first stage will remain white.
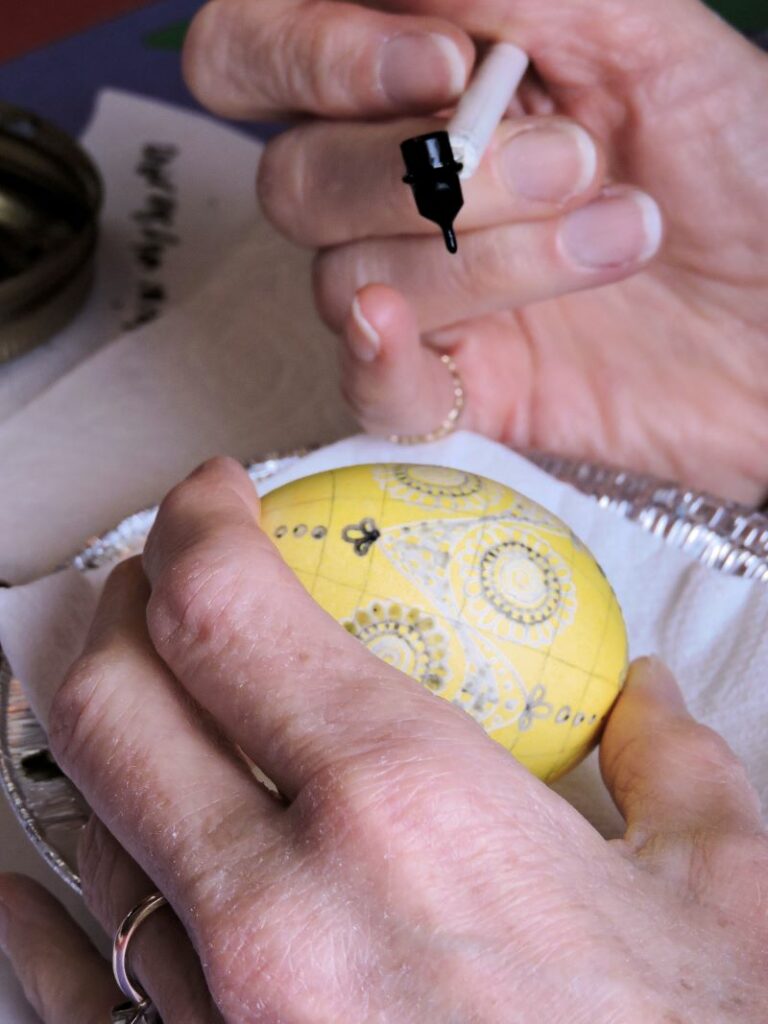
Because there are so many possibilities, let’s pause here and go over the dyeing sequence. When dyeing your egg you will work your way from lighter dyes to darker. Starting with yellow, then moving on to greens and blues, next will usually be orange but orange is special, it is used as a wash and we’ll go over it in more detail in a later step. Next will come pinks, reds, or browns and last will be dark reds and or black. You choose the colors you want or don’t want. For instance just because yellow is the first in the sequence doesn’t mean your egg has to have any yellow you could skip straight to green. Every time you dye the egg you’ll draw more wax lines and whatever color the egg is when you cover it with wax is the color those lines will remain.

So (Back to Step Four) the very first lines you draw will be where you want the egg to remain white. What if you don’t want any white in your design? You can always dye your egg your first color before drawing any wax lines at all. If you dye your egg yellow before drawing any lines then you will draw your first lines where you want the egg to remain yellow.
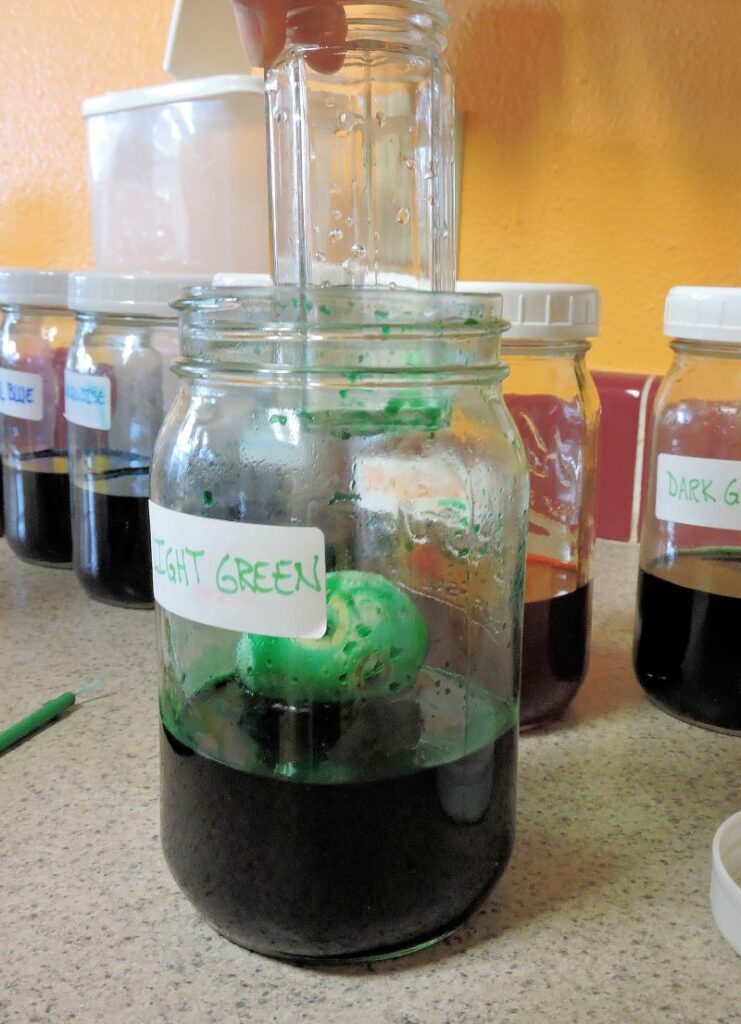
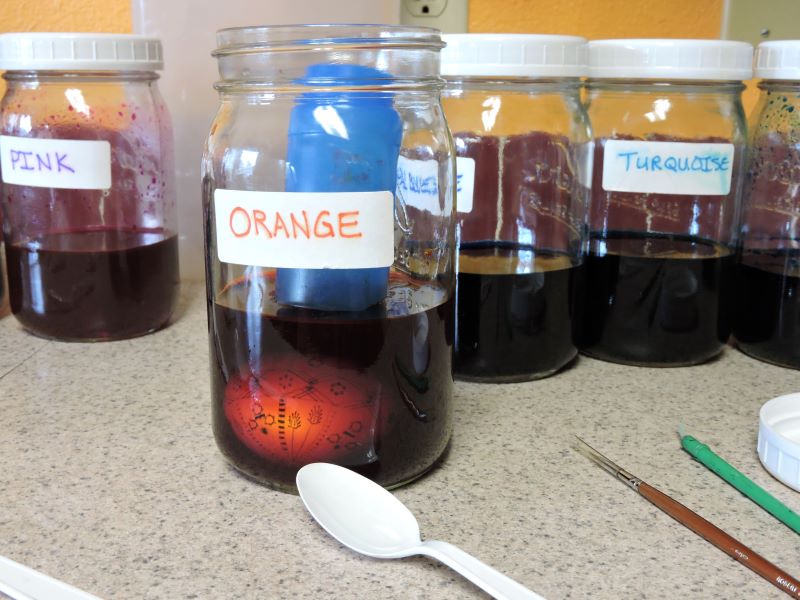
Step Five: Dye Your Egg
Procedure: Use a spoon to gently lower the egg into the jar of dye. If your egg is blown it will be light weight and this will be fairly easy. If it is a raw egg it will be heavier and you’ll need to be more careful that it doesn’t hit the bottom of the jar and crack. Once the egg is in the jar, if it is a blown egg it will need to be held down to keep it submerged or it will float on top of the dye. Very gently lower a weighted object on top of the egg to hold it down. How long you leave the egg in the dye can vary if you want a lighter or darker shade, also some egg shells may just take longer, but usually around ten minutes is good. At least once halfway through those ten minutes (if not more often) change the position of the egg so the dye is absorbed evenly. When the ten minutes is over use the spoon to carefully remove the egg from the jar. Have a paper towel ready to dab (do not rub) the egg dry.
Repeat Steps Four & Five
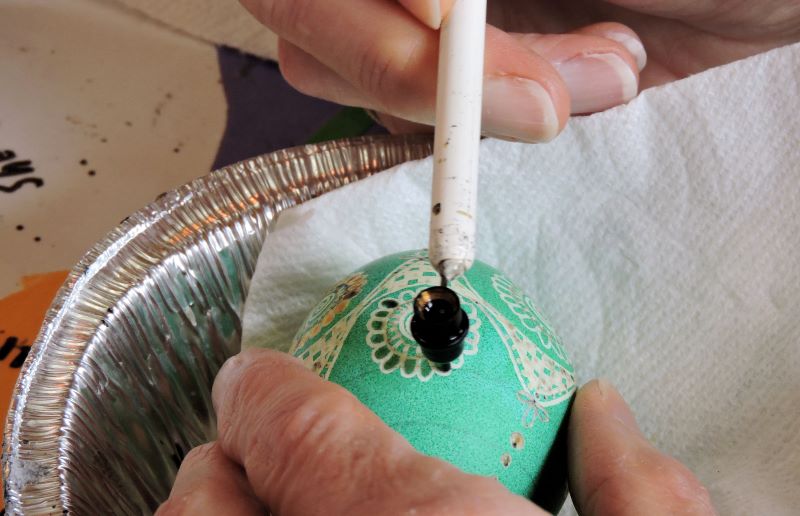
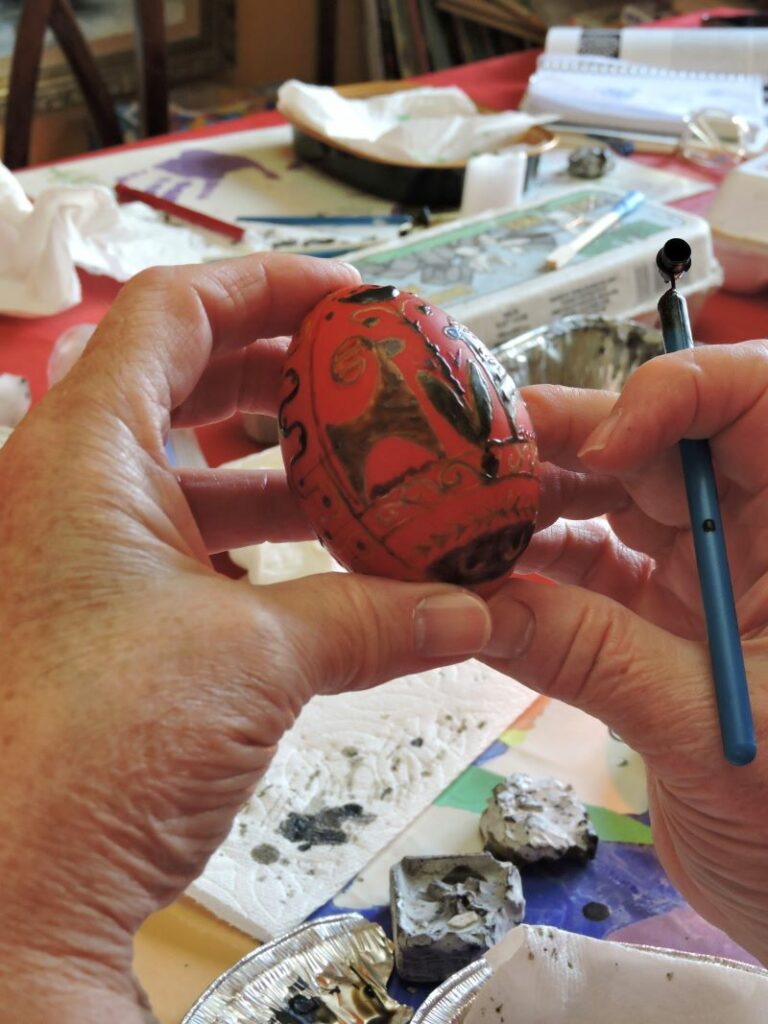
Once you’ve dyed the egg its first color, cover with wax any areas you want the egg to stay that color. Then move on to the next color in the color sequence and apply more wax repeating steps four and five. Remember light to dark works best, yellow to green to blue to orange to red to black is a good rule of thumb, but ultimately it’s all up to you.
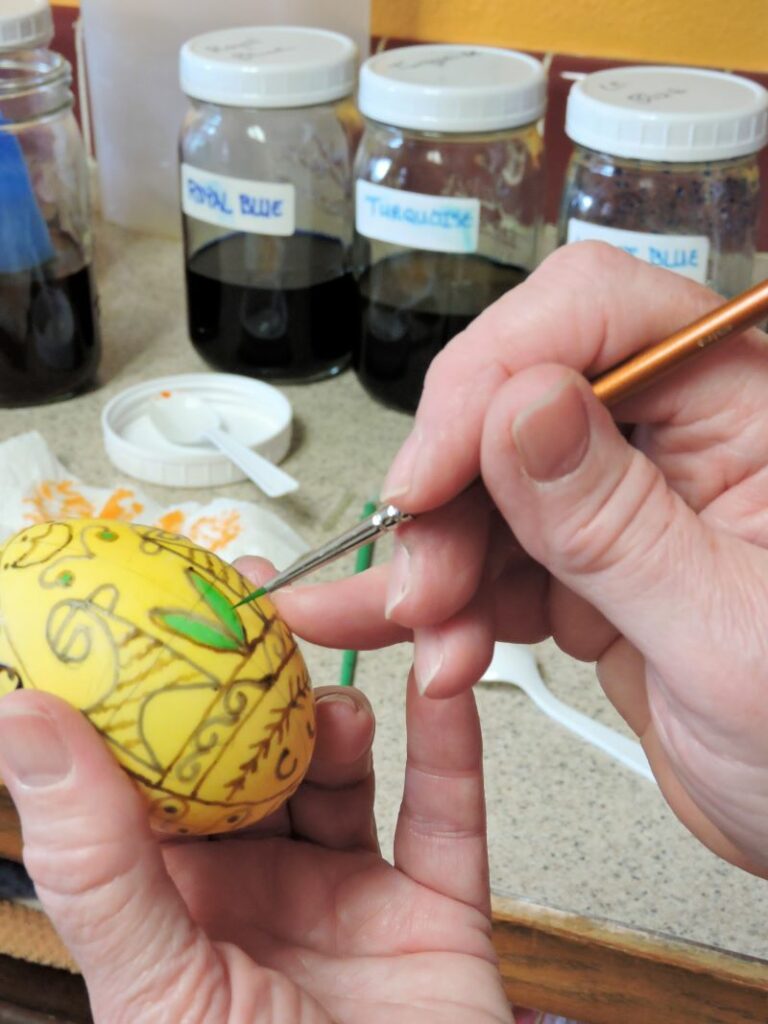
Optional: Instead of dipping the entire egg in the jar of dye you can use a paintbrush to color small areas of the egg before covering the same small area in wax. This works well when there is only a small area you want a certain color.
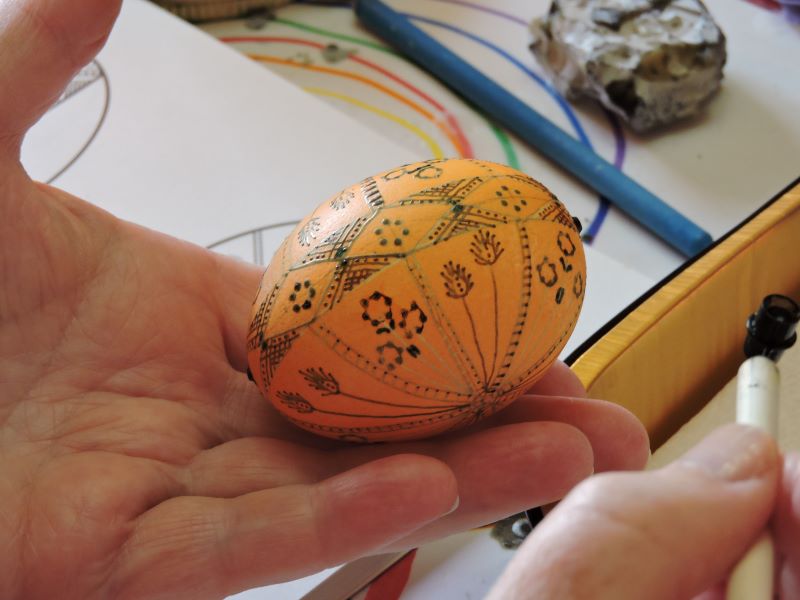
Step Six: Using Orange
The orange will not only dye an egg orange but as a rinse the orange can wash out greens, blues, and even reds allowing for better color absorption of the next dyes in your sequence.
Note: Orange only works as a wash if it is a specially developed vinegar free formula like those sold from the Ukrainian gift shop. Some stores may sell a “cleansing yellow” instead of an “orange wash”. The Ukrainian gift shop also sells a pumpkin dye which is basically a regular orange dye that is not a wash.
These wash dyes still dye your egg said color but they also help prepare it for further dyeing, because as dyes begin stacking on one another colors tend to deviate from true.
~ Continue Repeating Steps Four & Five ~
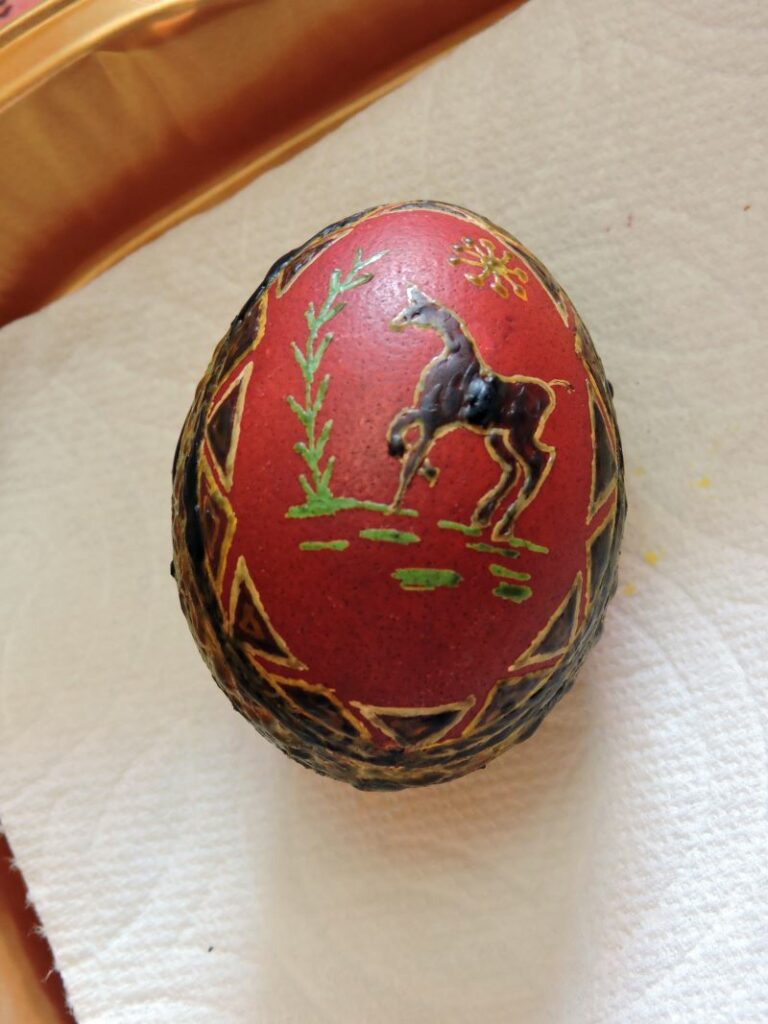
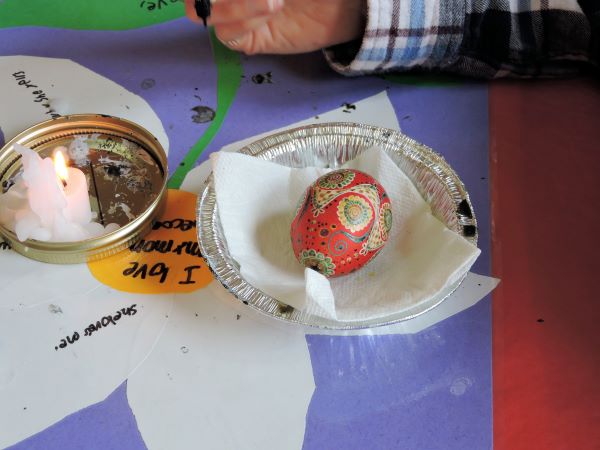
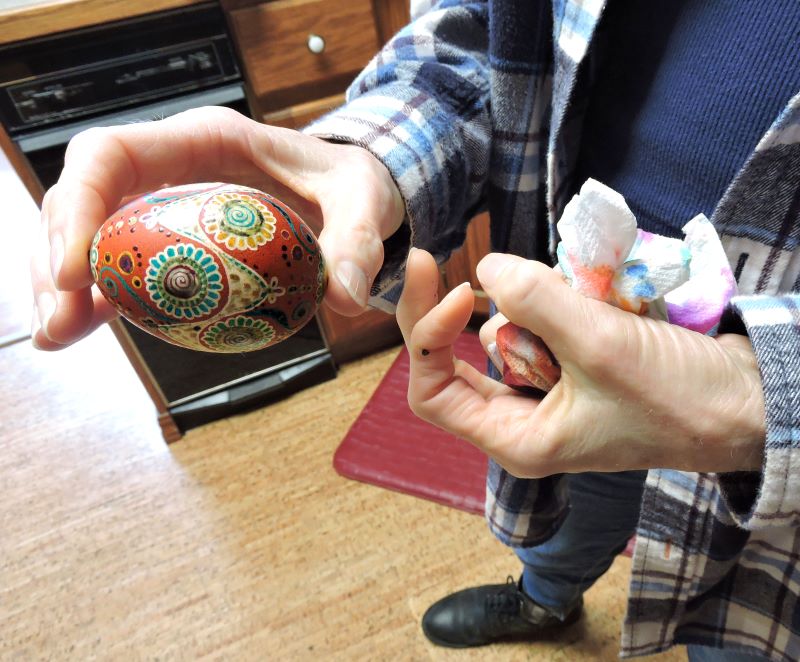
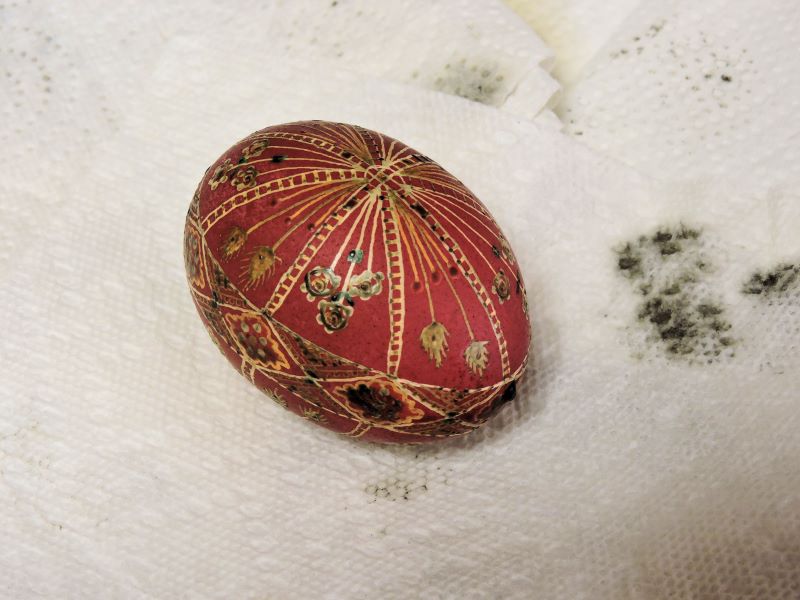
Step Seven: Removing the Wax
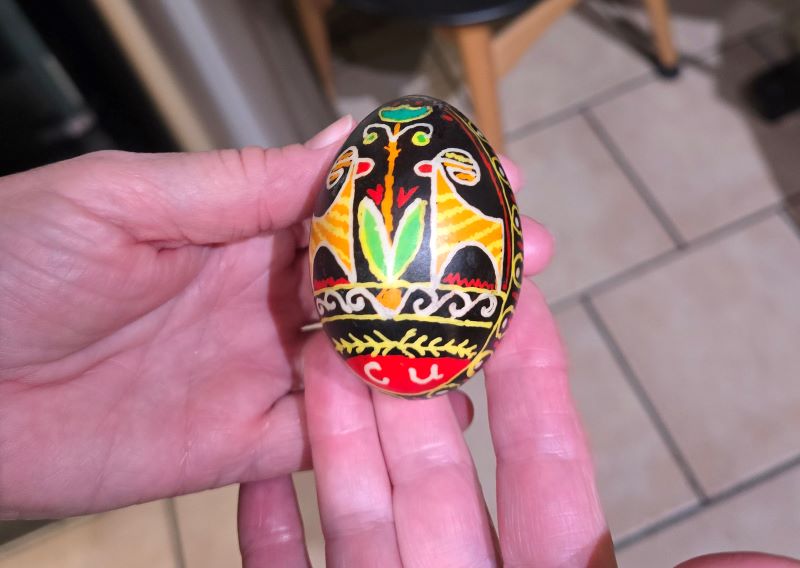
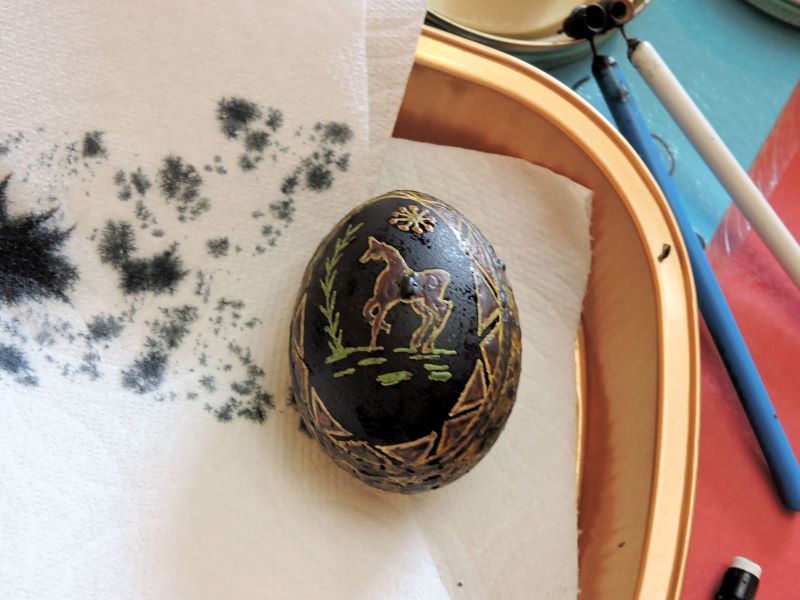
It is time to unveil your egg!
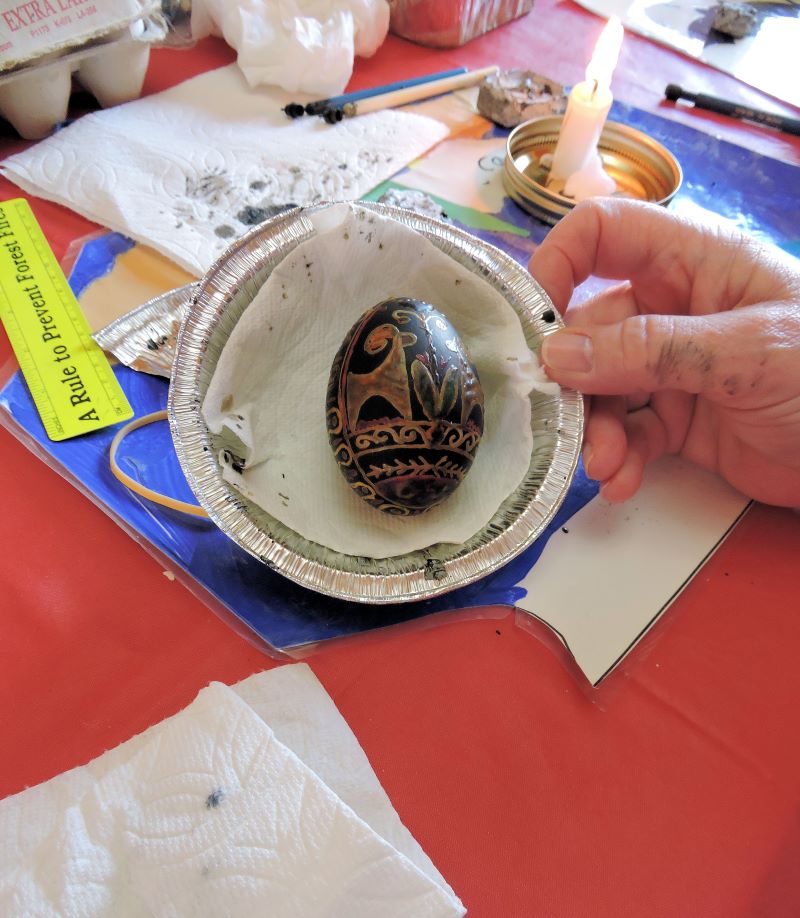
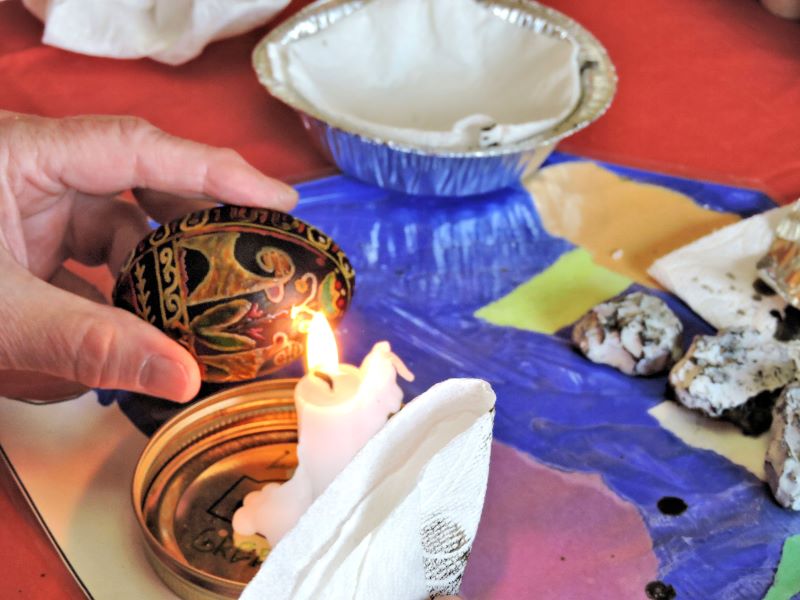
There are two methods for removing wax. One method is to hold your egg near the candle flame for just a couple seconds and as the wax melts, wipe it off with a paper towel or soft rag. Make sure to hold the egg to the side of the candle flame not over the top as it can get too hot and damage the egg or blacken it. Go slowly, don’t try to melt too much at once, just small sections at a time. Be careful using this method, eggs can overheat and burn your fingers.
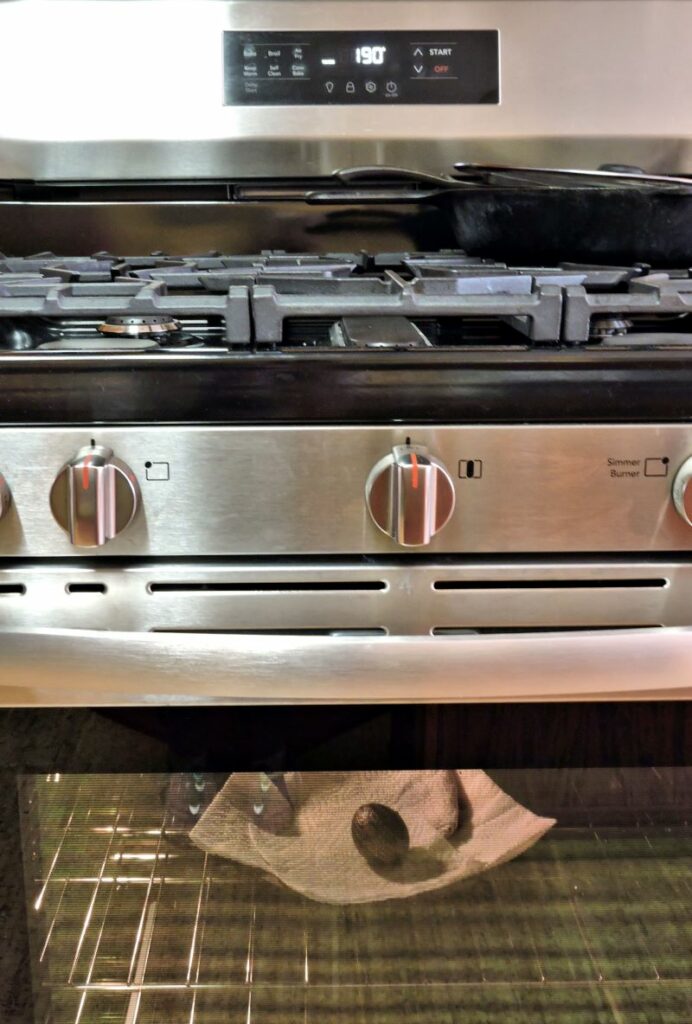
A faster (and probably overall better) method is to use the oven. Heat the oven to its lowest setting around 170 to 200 degrees. Place the egg on a cookie sheet lined with paper towels. Keep an eye on your egg and as soon as it starts to look shiny, remove it from the oven and wipe it with a paper towel. Do not let the egg get too hot.
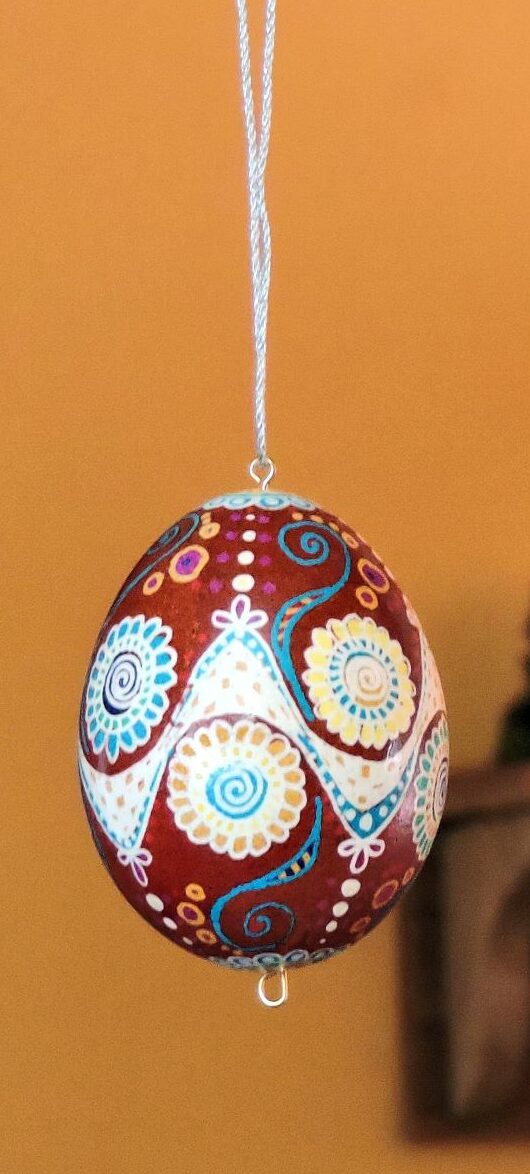
Optional: Spray with Varnish
You can choose to spray your egg with a polyurethane finish to protect it. Follow the directions on the varnish.
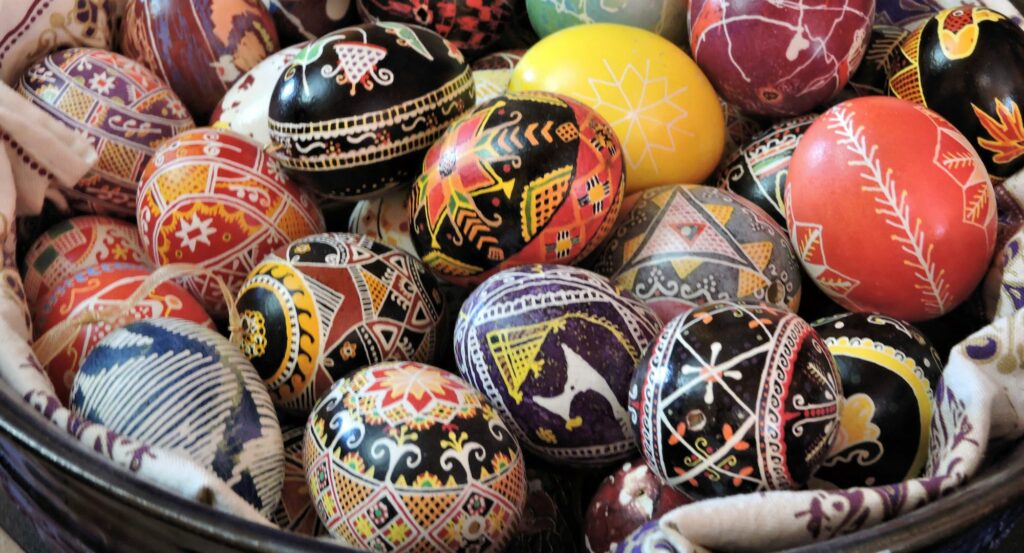
Bring Beauty into the World